

When you notice that the disk space on your Mac is getting low, it’s time to consider tidying up your hard drive with the help of macOS find large files. A good starting point is to remove any unnecessary duplicate files, hidden files, and old unused large files since these typically take up the most disk space.
There are numerous fantastic apps available that can assist you in locating these files. You can also manually locate the largest files and folders on your Mac, including those that are hidden and duplicated. In this article, we will explore two methods for identifying and removing the space-consuming culprits on your hard drive, with the aid of macOS find large files.
Part 1: How to Find Large Files on Mac
There are several ways to find large files on Mac. Here are a few methods:
- Finder’s search function: Open Finder and click on your Macintosh HD or the folder where you want to search for large files. Press Command + F or choose File > Find from the menu bar. In the search bar, type in the size of the file you are looking for (for example, “Size: >100 MB“) and hit Enter. This will show all the files that meet that size criteria.
- Use a third-party app: There are many third-party apps available for Mac that can help you find large files quickly and easily. Some popular options include DaisyDisk, GrandPerspective, and Disk Inventory X.
- Use Terminal: Open Terminal (located in the utility folder within the Applications folder), and type in the following command: “sudo find / -type f -size +100M“. This command will search your entire Mac for files larger than 100 MB and list them in Terminal.
- Check the Storage Management tool: Go to the Apple menu > About This Mac > Storage. Click on “Manage” to open the Storage Management tool. Here, you can see a breakdown of your Mac’s storage usage and identify large files that may be taking up too much space.

Part 2: How to Find Duplicate Files on Mac
There are several ways to find duplicate files on a Mac. Here are a few methods:
- Use Finder’s built-in feature: Open Finder and go to the folder or drive you to want to search for duplicate files. Click on the “File” menu and choose “Find Duplicates“. This will search for files with the same name, size, and modification date.
- Use a third-party app: There are many third-party apps available for Mac that can help you find duplicate files quickly and easily. Some popular options include Gemini 2, dupeGuru, and Easy Duplicate Finder.
- Use Terminal: Open Terminal (located in the utility folder within the Applications folder), and type in the following command: “fdupes -r folder name”. Replace “folder name” with the name of the folder you want to search for duplicates in. This command will list all duplicate files within that folder.
- Use an online service: There are several online services available, such as Mac Cleaner, that can scan your Mac and identify duplicate files. Simply upload your files and the service will search for duplicates and provide you with a report.
Regardless of which method you choose, it’s always a good idea to review the list of duplicate files before deleting them to ensure that you don’t accidentally delete any important files.

Part 3: How to Find Hidden Files on Mac
To find hidden files on a Mac, follow these steps:
- Open Finder.
- Click on the “Go” menu in the menu bar at the top of the screen.
- Hold down the “Option/Alt” key. This will reveal the “Library” option in the “Go” menu.
- Click on “Library” in the “Go” menu.
- Once you’re in the Library folder, you can navigate to the folder where you suspect the hidden files are located. You can also use the search bar in the top right corner of the Finder window to search for specific hidden files.
Note that some files are hidden for a reason and modifying or deleting them can cause issues with your system. Be cautious when working with hidden files and make sure you know what you’re doing before making any changes.

Part 4: How to Find the Largest Files on macOS Sierra and Later
To find the largest files on macOS Sierra and later, you can follow these steps:
- Open a Finder window by clicking on the Finder icon in the Dock or by pressing Command + N.
- In the menu bar, click on “File” and then select “Find“.
- In the search bar, type in “size:>1GB” (or any size threshold you prefer) and press enter. This will search for files larger than 1GB.
- The search results will display all files that meet the size criteria you specified. You can sort the files by size by clicking on the “Size” tab at the top of the window.
- To see the file path for any file, simply right-click on it and select “Get Info“.
- Once you have identified the largest files, you can decide which ones to delete, move to an external drive, or compress to save space on your hard drive.
Note that this method only shows files that you have permission to access. Some system files and files in other user accounts may not be visible or searchable. Additionally, manually searching for large files can be time-consuming, so using a dedicated app such as Mac Cleaner can help you quickly identify and manage large files on your Mac.

Part 5: Alternative Solution: Use Mac Cleaner
While other solutions mentioned in this guide can free up space on your computer, they usually require hours to complete, making them less than ideal. If you’re looking for a quick and easy solution, consider using Mac Cleaner, an application designed to help users remove unnecessary files. With its cleaning capabilities, it’s an ideal software for freeing up space on your macOS computer. Here are the steps for using the app:
Step #1: Download, Install, and Launch Mac Cleaner
Begin by clicking on this link, which will open a browser and take you directly to the Mac Cleaner download site. On the website, locate the “Download Now” button and click it to initiate the download of a DMG file. After the download is finished, open the DMG file to start the installer, and then simply follow the onscreen instructions to complete the installation process. Once the installation is complete, the Mac Cleaner software should launch automatically.

Step #2: Pick a Cleaner Module
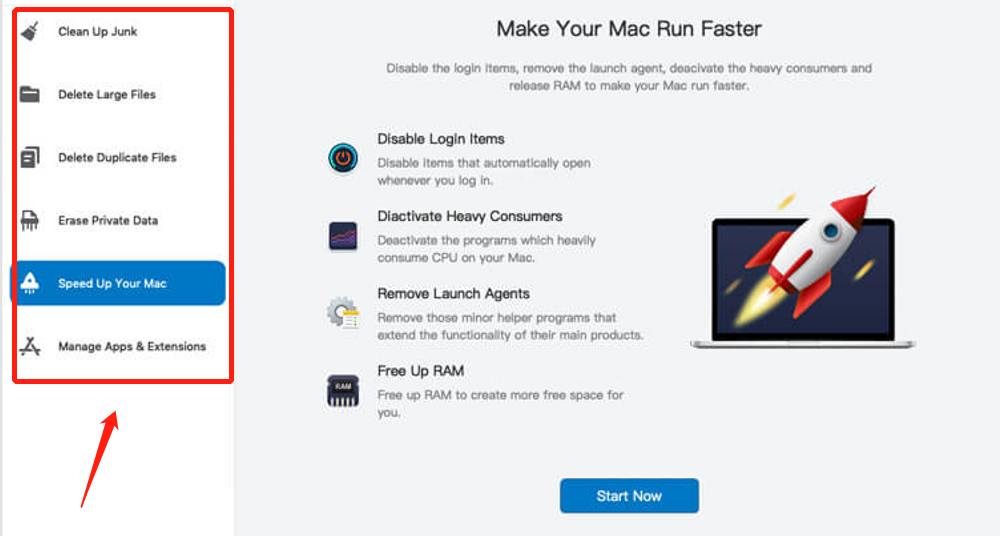
The interface features six distinct options on the left-hand side, including (1) Clean Up Junk, (2) Delete Large Files, (3) Delete Duplicate Files, (4) Erase Private Data, (5) Speed Up Your Mac, and (6) Manage Apps & Extensions. These options correspond to various modules that you can use, but for your purposes, you only need to use the first three, which we refer to as the cleaning modules. Here is an overview of each of these modules and how they can address your issue:
- Clean Up Junk: This module lets you eliminate unnecessary files that might be causing storage problems, such as system junk, app cache, and Trash files. By using this feature, you can free up space on your Mac and resolve issues like iCloud Drive taking up space on your computer.
- Delete Large Files: This module can help you locate and remove files that are larger than 50MB. By focusing on large files that are no longer needed or useful, you can effectively free up significant amounts of disk space.
- Delete Duplicate Files: This module identifies files that have multiple copies on your computer and allows you to delete them. By eliminating duplicate files, you can recover valuable disk space and optimize your Mac’s performance.
To select a cleaning module, simply click on the corresponding option on the left side of the interface.
Step #3: Scan Your Mac for Files
After selecting a cleaning module, the software interface will change, and you’ll need to scan for files. The scanning process will vary depending on the module you’ve chosen. Here’s how to scan for files using each cleaning module:
- Clean Up Junk: Once you select this module, the software will split into two sections. The left side will display Quick Clean, while the right side will show Deep Clean. Quick Clean enables you to scan for System Junk, App Junk, Trash Bin, and iTunes Junk. On the other hand, Deep Clean can scan for all of these, plus three other file categories, including Downloads, iOS Junk, and Unused Disk Images. Select the option you prefer and click on the Scan button to begin.
- Delete Large Files: Simply click the Scan button right away.
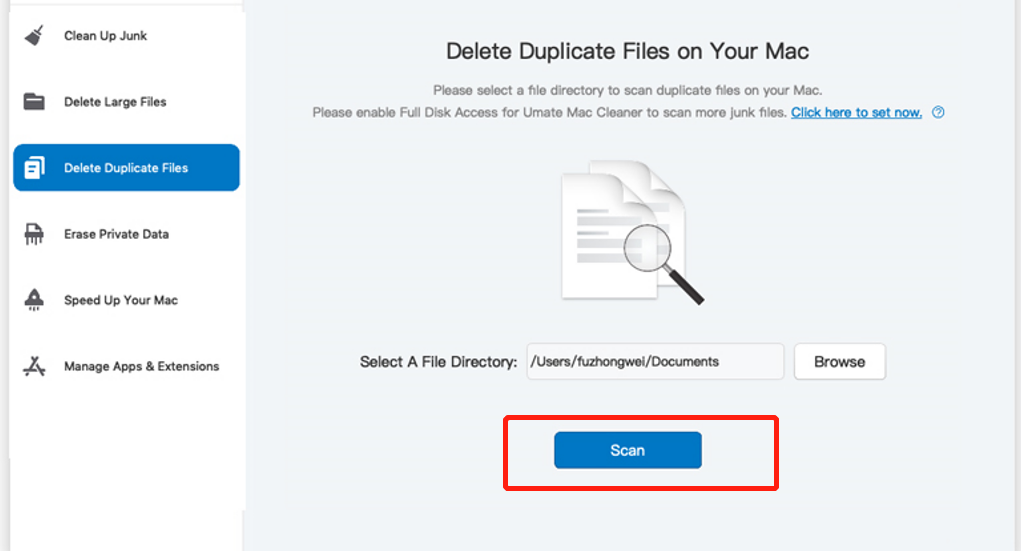
- Delete Duplicate Files: In the center of the interface, you’ll find a field labeled “Select a File Directory.” Next to it is a Browse button. Click on it to bring up a popup window where you can navigate to the directory you wish to scan for duplicate files. Once you’ve specified a directory, click the Scan button located at the bottom area of the application.
Step #4: Select File/s
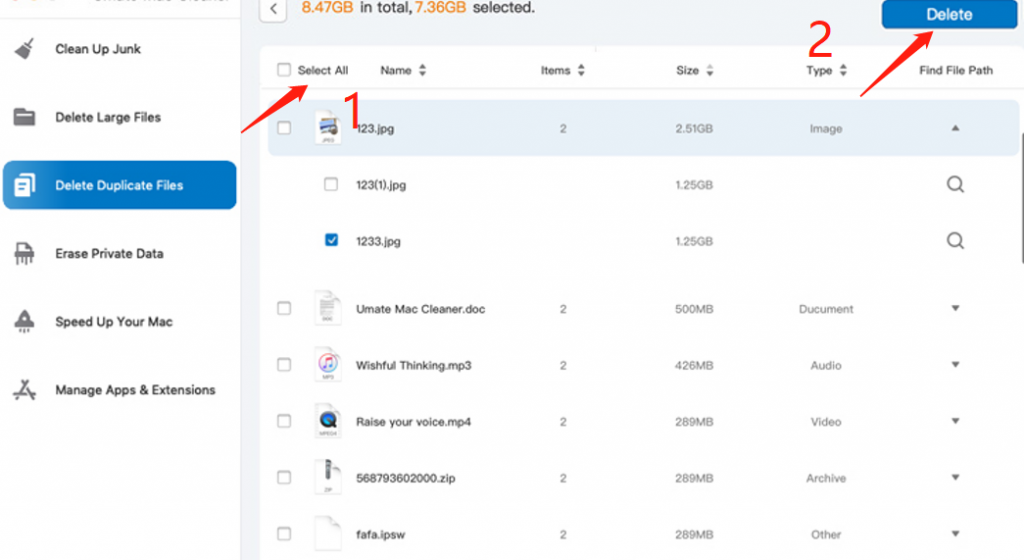
The fourth step involves selecting the files you want to delete. For Delete Large Files and Delete Duplicate Files modules, simply click on the corresponding checkboxes for the files you want to delete from the list. You can also click “Select All” if you want to delete all items on the list.
However, for Clean Up Junk, you must first choose a file category from the list on the left, which includes items such as System Junk, Downloads, Trash Bin, Unused Disk Images, and other file categories.
Once you’ve selected a category, a new list will appear on the right side of the interface showing the actual files. You can select files from that list the same way you did in the other two cleaning modules.
Step #5: Delete the File/s
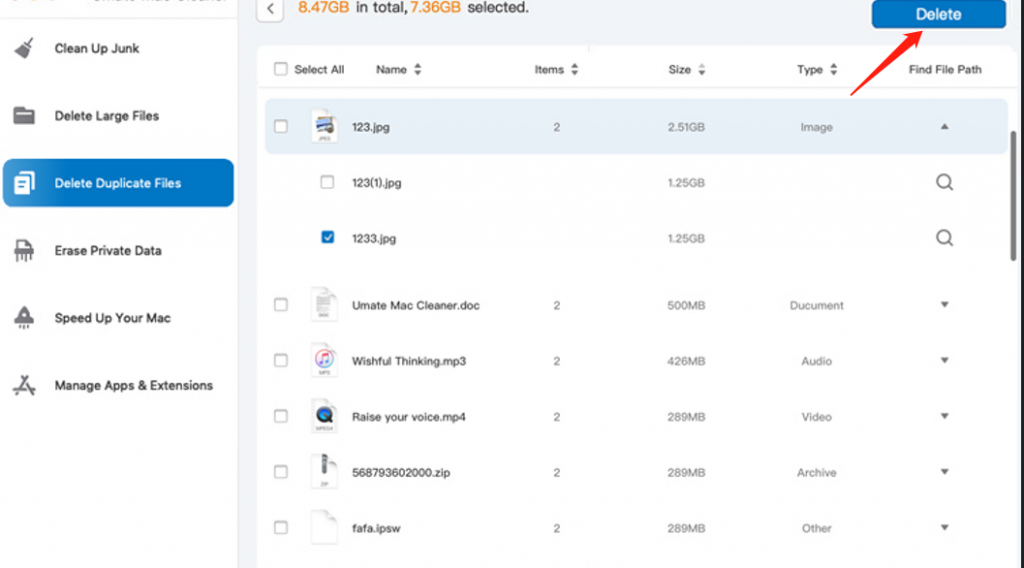
Once you have selected all the files you wish to delete, you can complete the process by clicking on the blue button located in the upper right corner of the window. The button label will either be “Clean” or “Delete” depending on the module you have selected.
Takeaways
By locating and deleting duplicates, old large folders, and hidden cache files, you can significantly increase the amount of available disk space on your Mac. These tasks can be accomplished through manual methods or with specialized apps created for this purpose.
In conclusion, locating and removing large files on your Mac can help you free up significant amounts of valuable disk space. With the help of specialized apps like macOS to find large files or by manually searching for large files, you can quickly identify and remove space-consuming files. By regularly performing these tasks, you can optimize your Mac’s performance and avoid encountering storage-related issues.
So, if you’re struggling with low disk space, it’s time to start exploring the methods available to you for locating and managing large files on your Mac. Discover how to clean up your Mac, even when your startup disk is full, by reading on.
Latest Articles