

How much space does macOS take? A computer has a variety of resources. The CPU and RAM are particularly important resources as they’re often what decides how fast your macOS computer would perform. Meanwhile, the disk space is what determines how many files you can fit in the storage. It’s a particularly important resource since it can also affect the CPU and RAM indirectly. If you no longer have enough disk space, for example, the computer may instead use the RAM, reducing the RAM that the computer can allocate in total.
Unfortunately, unlike the CPU and RAM, when you download a file from the internet or transfer a file from a different drive, the disk space would be reduced until you delete them. It’s not like the CPU and RAM can be cleared up with no consequences.
Hence, it’s important to know exactly how much space each file takes. That’s particularly true for the macOS files since it’s a sizeable chunk that typically consumes several GBs, which is already large enough. So, how much space does macOS take?
Part 1: How Much Space Does macOS Take?
How much space does macOS take? It generally depends on what task you’re trying to accomplish, but the macOS usually takes 10GB to 40GB of space, which may vary according to the macOS version. If you want to perform an update on your current macOS version, then it may not even reach 1GB. But if you’re going to upgrade from an old macOS version to a newer version, then the size will be significantly larger. Here’s a look at the space requirements for each macOS version and which version they would have to come from:
- macOS Sierra: The macOS Sierra installer is 5.01GB in size and when extracted, will take 8GB of disk space.
- macOS High Sierra: The macOS High Sierra installer is 7.7GB in size, and when extracted, will take 14.3GB of space.
- macOS Mojave: The macOS Mojave installer may vary in size according to your current version. It’ll take 12.5GB of space if you’re coming from El Capitan or later, and 18.5GB of disk space if upgrading from OS X Yosemite and earlier.
- macOS Catalina: The macOS Mojave installer may vary in size according to your current version. It’ll take 12.5GB of space if you’re coming from El Capitan or later, and 18.5GB of disk space if upgrading from OS X Yosemite and earlier.
- macOS Big Sur: The macOS Mojave installer may vary in size according to your current version. It’ll take 35.5GB of space if you’re coming from macOS Sierra or later, and 44.5GB of disk space if upgrading from earlier than that.
- macOS Monterey: The macOS Mojave installer may vary in size according to your current version. It’ll take 26GB of space if you’re coming from macOS Sierra or later, and 44GB of disk space if upgrading from earlier than that.
- macOS Ventura: Your macOS computer will need to have at least 25 GB of free disk space to run macOS Ventura.
Part 2: Why Does macOS Take So Much Space?
To start with, macOS take up so much space because that’s just how large Mac’s features are if converted into files. And since macOS computers are known for their countless features, the macOS installer will naturally take so much space. Unfortunately, the macOS installer is just a singular file rather than a directory, there’s no telling what its exact contents are, so that’s the most objective answer you can get—because the macOS contains all the features that typically consume large amounts of space.
Part 3: Where Is The macOS Installer Located?
As stated earlier, the macOS installer is a singular file. We know this because if you look hard enough, you can find the file that represents the macOS installer. You normally would be able to find it since it’s programmed to delete itself once it serves its purpose, or in other words, extracted its contents, but there are times when it may not delete itself. That’s typically when it has yet to extract the contents, meaning it hasn’t yet served its purpose, for whatever reason. Perhaps you wanted to abort the task. If that’s the case, then it’s only natural that must find the file and delete it so it doesn’t take up space. Here’s how you do it:
- Open the Finder app on your computer.
Note: Finder is the file management app for macOS computers.
- Click Applications from the left sidebar.
- There should be a file somewhere in that directory that says something along the lines of macOS Installer. Find that file, or rather, application, since it opens a program when you double-click. Then, select that file.
- Press the Delete key on your keyboard.
Make sure you empty the Trash so the file doesn’t take up space. The system may also not move it to the Trash anyway since the file is too large. These instructions specifically step 1 to 3, is particularly useful if instead of deleting it, you want to go through with the installation. Instead of pressing the Delete key, you just have to double-click it to start the installation.

Part 4: How Do You Know If You Need A macOS Update?
If you’re relatively new to using macOS computers, chances are you don’t know how to check for updates, much less perform the update. In that case, the following guide should help:
- Click the Apple logo at the top-left corner of the screen.
- Select System Preferences from the dropdown menu.
- A popup window should appear. There, click Software Update.
- On the Software Update window, you’ll either find an Update button or an Upgrade button. Click that button.
Keep in mind that this will take a while, especially if the button is Upgrade since that’s usually the 10GB to 40GB worth of files that the system needs to download first, then install right after.

Part 5: BONUS: Free up Disk Space with Mac Cleaner [RECOMMENDED]
While it’s true that a macOS computer rarely runs out of space due to its superb file management capabilities, it’s still a possibility for the device to run out of space. In that case, you need a way to free up disk space on your computer quickly.
Mac Cleaner is a cleanup tool that can help you free up space by essentially deleting files from your computer that the system no longer deems necessary. These include system and app cache files, Trash files, and duplicates, among many things.
If you want to use this software, here’s what you need to do:
Step #1: Launch Mac Cleaner on Your Computer
Before anything else, you need to install the software on your computer. For that to happen, you must go to this link. It should take you to the Mac Cleaner download site, where find a button that says Download Now. Click that button to download a DMG file, which is the file extension for installers in macOS computers. Once the download is complete, open it and the installation will start. Follow the onscreen instructions onward. The software will open automatically once it’s installed.
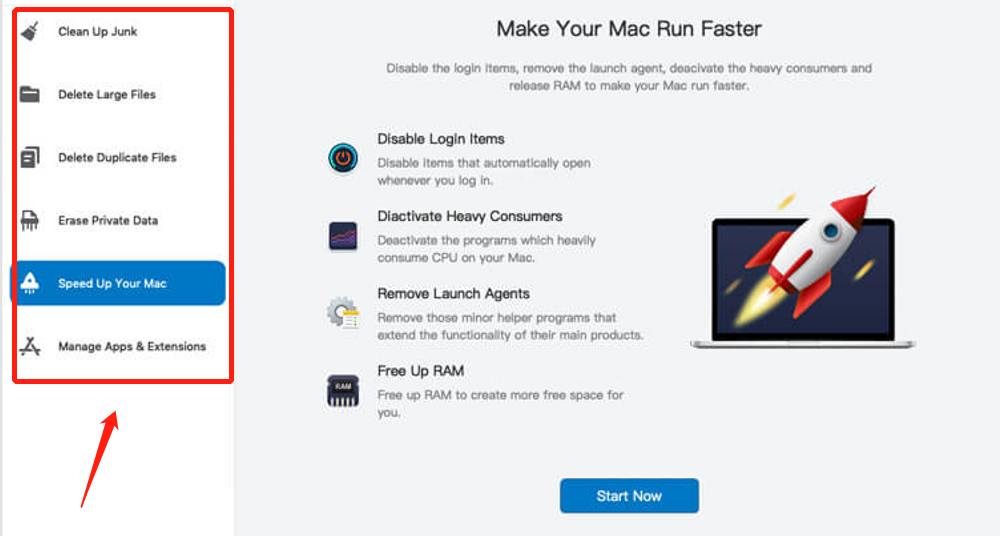
Step #2: Choose a Cleaner Module
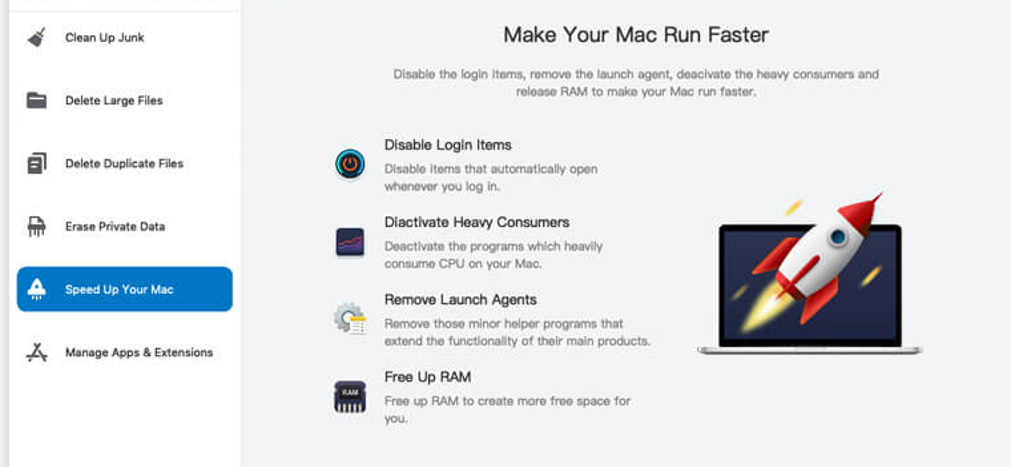
Your next step would be to select a module. Mac Cleaner has six modules, namely (1) Clean Up Junk, (2) Delete Large Files, (3) Delete Duplicate Files, (4) Erase Private Data, (5) Speed Up Your Mac, and (6) Manage Apps & Extensions. To free up disk space, you should pick either of the first three modules since they’re the modules that can delete unnecessary files. These are Clean Up Junk, Delete Large Files, and Delete Duplicate Files. Select a module by simply clicking on it from the left sidebar.
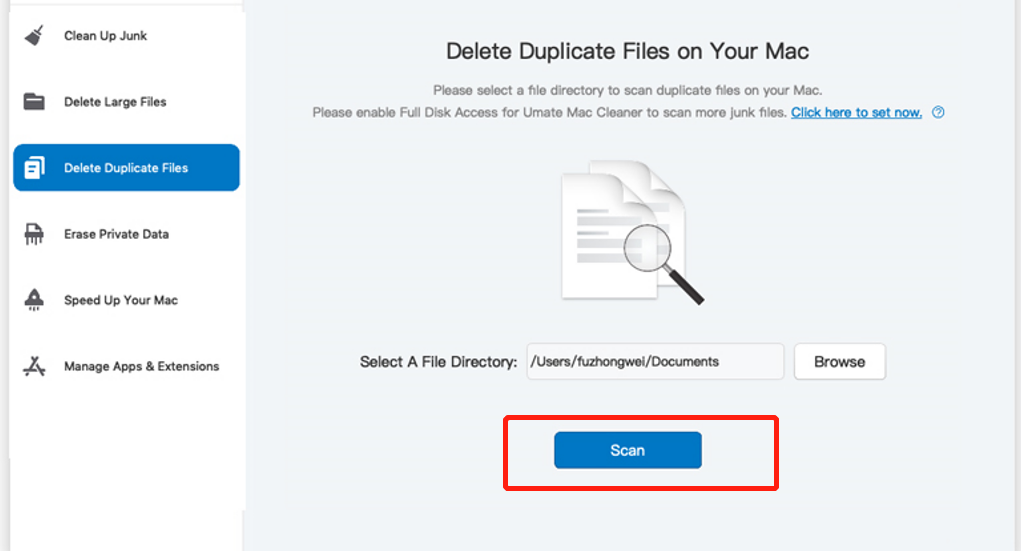
Step #3: Scan Your Mac for Files
Once you’ve chosen a module, the software will change in appearance. The basic idea behind this step is to start the scan process. For that, you need to click the Scan button at the bottom of the interface, or at least that’s the case for Delete Large Files and Delete Duplicate Files. For Clean Up Junk, you must select between Quick Clean and Deep Clean first. We suggest choosing Deep Clean since it’s much more accurate and it scans more files, though with the disadvantage of taking longer.
Step #4: Select a File/s
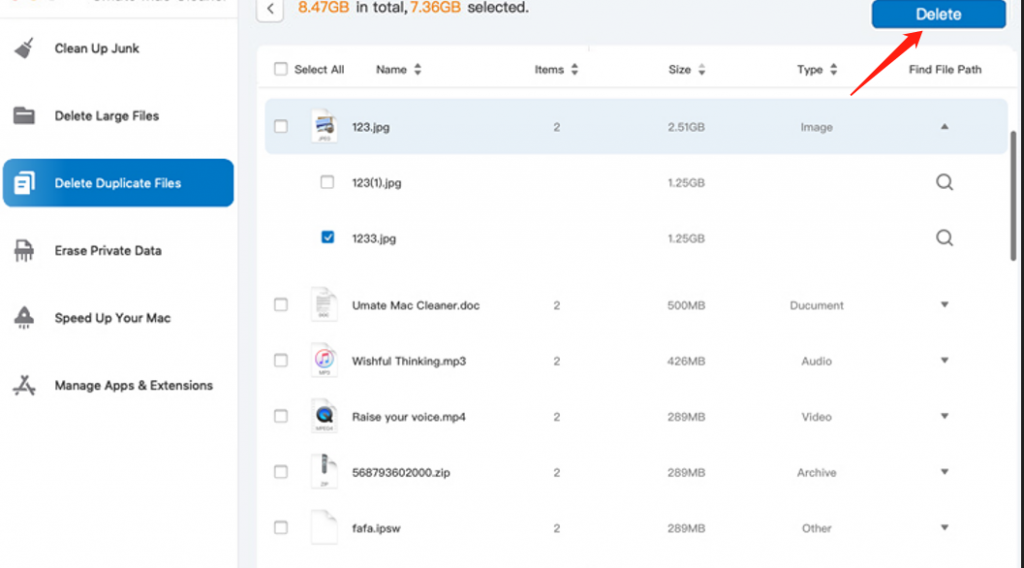
After the scan is finished, you’ll get a list of files on the next page. For Delete Large Files and Delete Duplicate Files, the files will be displayed at the center. You just have to select the ones you want to delete by clicking their checkboxes. If you want, you can also click the Select All button to make things easier. As for Clean Up Junk, you must first choose a file category from the left, which should include System Junk, Downloads, and Trash Bin, among many things, then select from the list on the right.
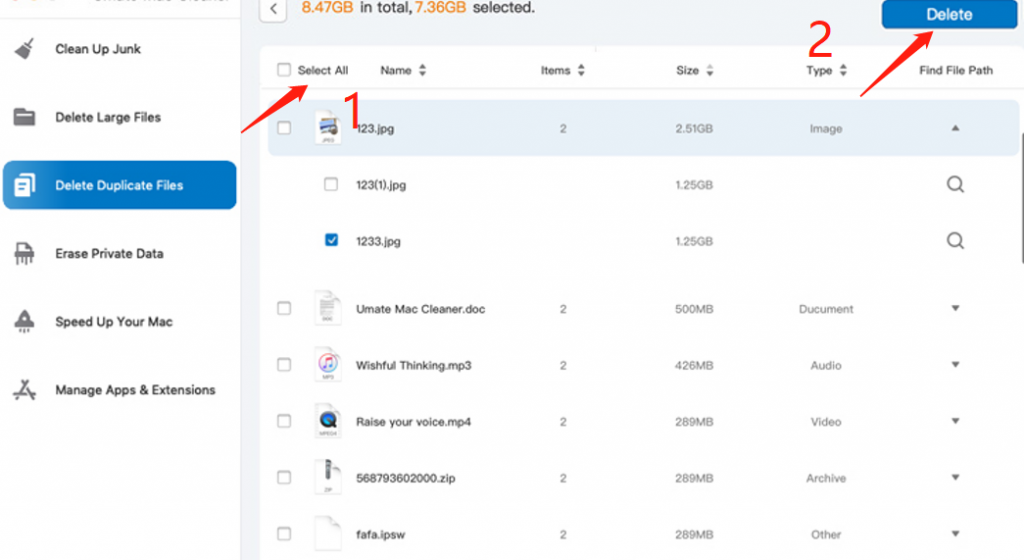
Step #5: Delete the File/s
To finalize the process, you must click the button at the top-right corner of the window. It should say either Clean or Delete.
Final Words
Now that you know how much space does macOS take, you should be able to get a better idea of how you should allocate your space before and after the installation. That way, while you’re updating or installing the macOS, you wouldn’t encounter any issues, such as the installation or updating stopping due to insufficient space.
Latest Articles