

How can you access the Applications folder on Mac? It’s a relatively simple process. You can either navigate to the top-level Finder menu, select the Go dropdown, and click on Applications. This will allow you to view all the files and shortcuts for every application you’ve downloaded or own/use by default. Alternatively, you can use keyboard or mousepad shortcuts or run a Spotlight or Siri search to access the folder.
Once you’re in the Applications folder, you’ll be able to locate every app you’ve ever downloaded except for native macOS apps, which cannot be removed. If you need to free up space on your Mac, you can easily drag unnecessary files and apps into the Trash. Boost Mac productivity by finding the Applications folder! Learn how to access the applications folder on Mac.
Part 1:How to Find Application folder via Launchpad
To find your application folder via Launchpad on a Mac, you can follow these steps::
- Click on the Launchpad icon in your Dock (the rocket ship icon).
- Once Launchpad is open, you should see all of your installed applications.
- Look for a folder named “Other.“
- Click on the “Other” folder, and you should see an icon for “Applications.“
- Click on the “Applications” icon to open your Applications folder.
Alternatively, you can also use the “Finder” application to locate your Applications folder. To do this, simply open a new Finder window, and you should see “Applications” listed in the sidebar on the left-hand side. Click on “Applications,” and you’ll be taken to your Applications folder.

Part 2:How to Find Hidden Apps on Android
If you suspect that there are hidden apps on your Android device, you can follow these steps to find them:
- Open the “Settings” app on your Android device.
- Scroll down and select “Apps” or “Application Manager“, depending on your device.
- Look for an option like “Show all apps” or “Display system apps” and toggle it on.
- This will show you all the apps installed on your device, including system apps and hidden apps.
If you still suspect there are hidden apps, check for any apps that have unusual names or icons. You can also check the app permissions of each app to see if any of them are requesting permissions they don’t need. If you find an app that you don’t recognize or that you suspect is a hidden app, you can try uninstalling it. If the app is a system app, you may not be able to uninstall it, but you can disable it to prevent it from running in the background.

Part 3:How to find hidden apps on iPhone Home Screen
If you suspect that there are hidden apps on your iPhone’s home screen, you can follow these steps to find them:
- Swipe left on your home screen to access the App Library.
- Scroll down and look for the “Search” bar at the top of the screen.
- Type in the name of the app you suspect is hidden. If it appears in the search results, it means the app is still installed on your phone but may be hidden from the home screen.
- If the app is still installed on your phone, but not visible on the home screen, you can bring it back by long-pressing an empty area on your home screen until the apps start to jiggle.
- Tap the “+” icon in the upper-left corner of the screen.
- This will bring up a list of all the apps installed on your phone, including any that are hidden from the home screen.
- Find the app you want to unhide and tap the “Add to Home Screen” option next to it.
- The app will now be visible on your home screen.
If you are still unable to find the hidden app, it’s possible that it has been deleted. In this case, you will need to reinstall the app from the App Store.
Part 4:How to Use Siri to Find Hidden Apps
Siri is a digital assistant that can perform a variety of tasks on your iPhone, but it does not have the capability to find hidden apps. However, there are a few ways you can find hidden apps on your iPhone:
- Search for the app: Swipe down on your iPhone’s home screen to bring up the search bar, and type in the name of the app you’re looking for. If the app is still installed on your phone, it should appear in the search results, even if it’s hidden.
- Check your app library: In iOS 14 and later versions, you can find a list of all your installed apps in the app library. To access the app library, swipe left on your home screen until you see a list of app categories. Scroll down until you see a list of all your apps, including any hidden ones.
- Look for the app in your settings: Some apps may have settings or preferences that allow you to hide them from your home screen. To see if this is the case, go to Settings > General > iPhone Storage and scroll down to see a list of all your installed apps. If you see an app that you don’t recognize, it may be a hidden app.
- Use third-party apps: There are several third-party apps available on the App Store that can help you find hidden apps on your iPhone. However, be cautious when using these apps, as they may not be reliable and could potentially harm your device.
Remember, hiding apps is not a recommended practice as it could lead to confusion and potentially hide apps with important data.
Part 5:How to Access the Applications Folder on Mac and Find Hidden Applications
To discover hidden applications on your Mac, including small support programs that might not show up in Finder or Launchpad or software that’s been intentionally hidden, you can access the Applications folder in a number of ways. One way is to download a free tool like Mac Cleaner to help you visualize your entire storage space and locate the Applications folder as well as any hidden files and folders.
If you accidentally misplaced or deleted the Applications folder from the Finder sidebar, or moved it to the Dock, you can restore it to its original location in a few easy steps. Here’s how you use the software:
Step #1: Download, Install, and Open Mac Cleaner
To begin the process of using Mac Cleaner, the first step is to download, install, and open the software. You can access the Mac Cleaner download site by clicking on the provided link. Once on the site, simply click the “Download Now” button to download a DMG file. After the download is complete, open the file to start the installation process, and follow the instructions displayed on your screen. Once the installation is complete, the app will automatically launch.

Step #2: Pick from Six Modules
The Mac Cleaner interface presents six different options on the left side, each corresponding to a specific module with unique functionalities. Here’s a breakdown of how each module works:
- Clean Up Junk scans for and deletes various types of files that are considered unnecessary by the system, such as system and app cache, iTunes and iOS junk, and more.
- Delete Large Files detects and removes files that are larger than 50MB in size, typically those that are no longer needed.
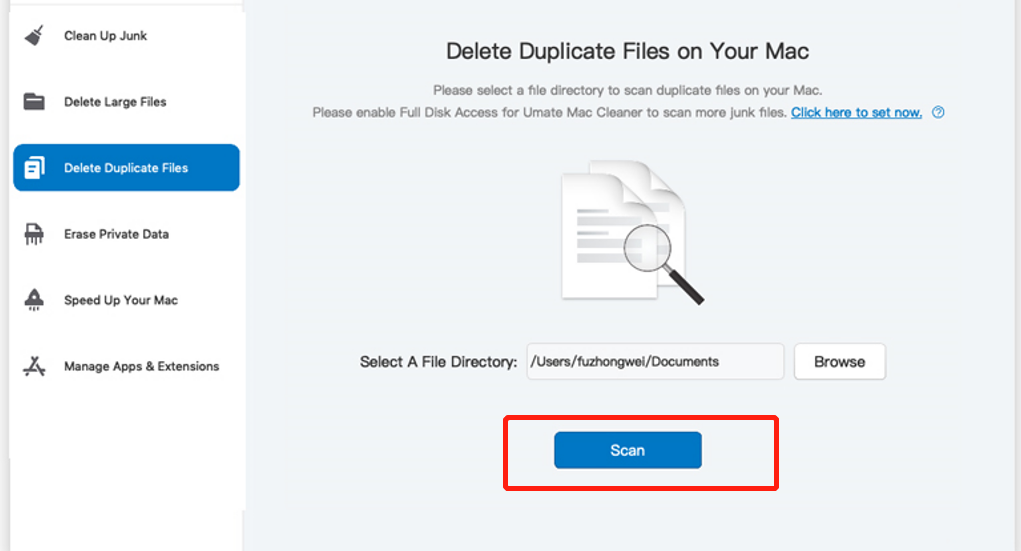
- Delete Duplicate Files identifies and eliminates duplicate files that take up unnecessary space in your storage disks.
- Erase Private Data searches for files that may contain private data, including chat history, mail attachments, usage history, and more, and allows you to erase them to prevent data leaks.
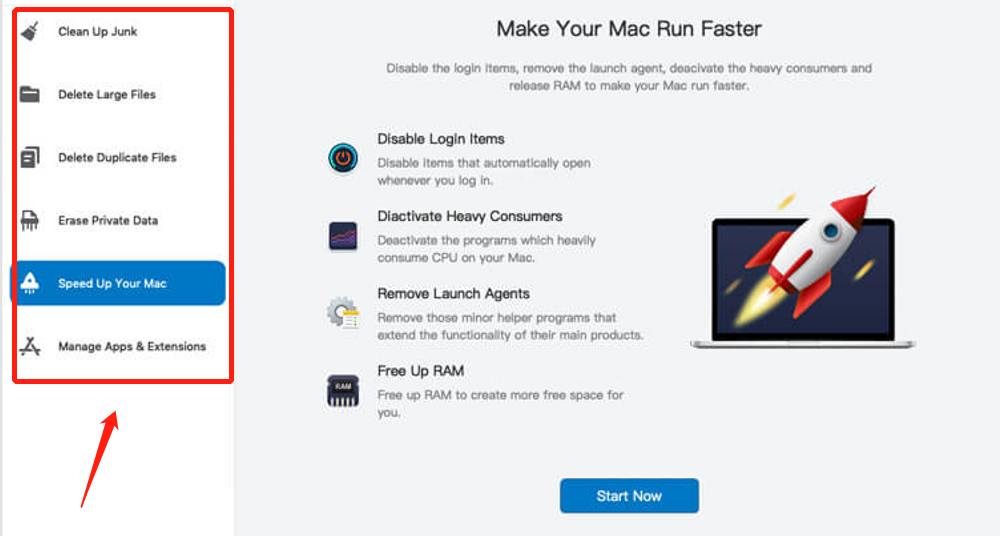
- Speed Up Your Mac performs various tasks aimed at optimizing the computer’s performance.
- Manage Apps & Extensions lets you uninstall unwanted applications and browser extensions.
To proceed to the next step, select a module by clicking on it from the left sidebar of the interface.
Step #3: Click Scan/Start Now/View Items
There are six different options available on the left side of the Mac Cleaner interface, each corresponding to a specific module with its own set of unique functionalities. Here’s a breakdown of what each module does:
- Clean Up Junk scans your system for unnecessary files such as app cache, system cache, iTunes and iOS junk, and more, and then deletes them to free up space.
- Delete Large Files detects and removes files larger than 50MB that is no longer needed, to help free up disk space.
- Delete Duplicate Files identifies and eliminates duplicate files to help you free up storage space.
- Erase Private Data scans for files containing private data such as chat history, mail attachments, and usage history, and then allows you to delete them to avoid data leaks.
- Speed Up Your Mac performs various tasks aimed at optimizing your computer’s performance.
- Manage Apps & Extensions lets you uninstall unwanted applications and browser extensions.
- To proceed to the next step, simply click on the module you want to use from the left sidebar of the interface.
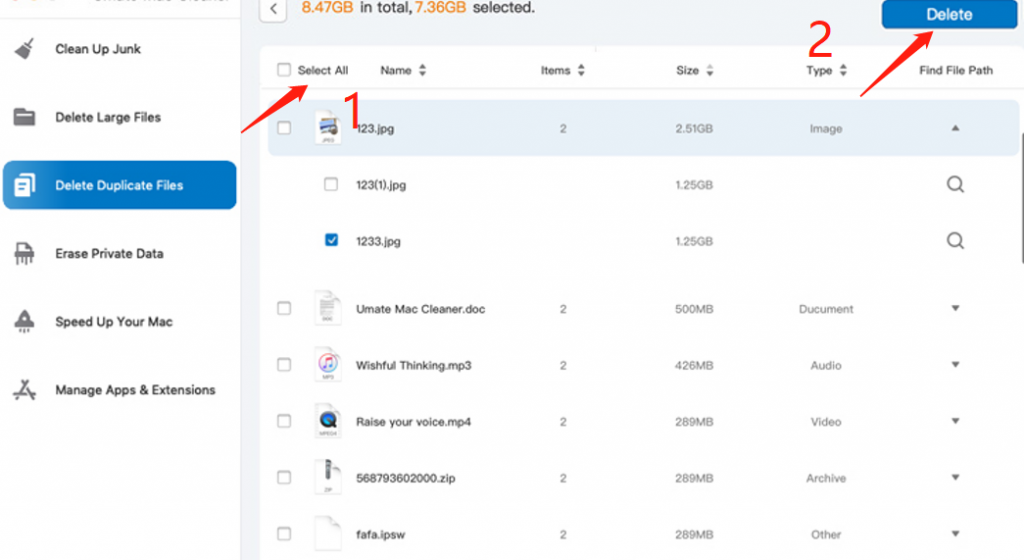
Step #4: Select Item/s
There are six different options available on the left side of the Mac Cleaner interface, each corresponding to a specific module with its own set of unique functionalities. Here’s a breakdown of what each module does:
- Clean Up Junk scans your system for unnecessary files such as app cache, system cache, iTunes and iOS junk, and more, and then deletes them to free up space.
- Delete Large Files detects and removes files larger than 50MB that is no longer needed, to help free up disk space.
- Delete Duplicate Files identifies and eliminates duplicate files to help you free up storage space.
- Erase Private Data scans for files containing private data such as chat history, mail attachments, and usage history, and then allows you to delete them to avoid data leaks.
- Speed Up Your Mac performs various tasks aimed at optimizing your computer’s performance.
- Manage Apps & Extensions lets you uninstall unwanted applications and browser extensions.
To proceed to the next step, simply click on the module you want to use from the left sidebar of the interface.
Step #5: Click the Blue Button
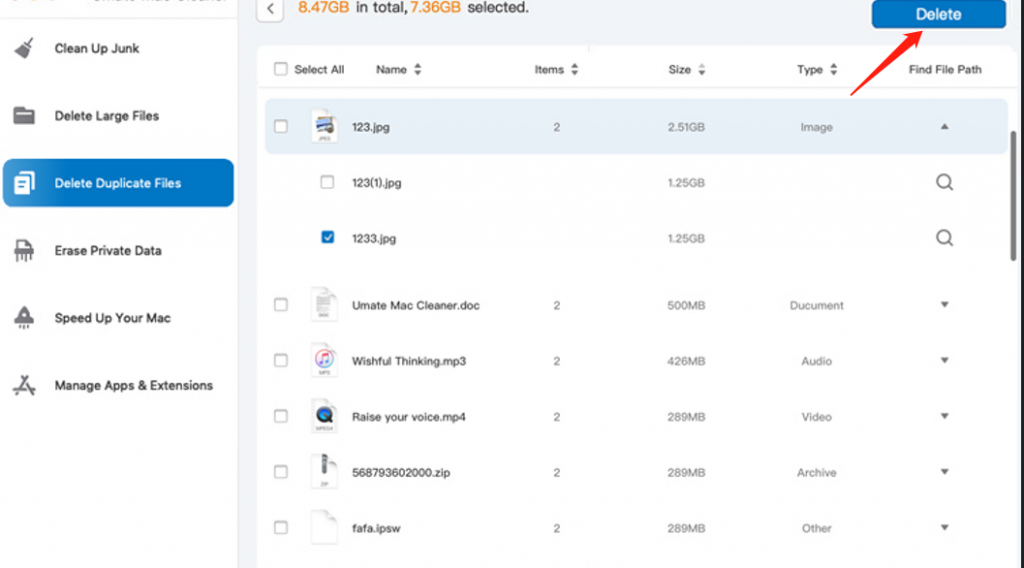
Step #5 involves clicking the blue button located at the upper right corner of the interface, regardless of the module being used. The button may display one of several labels, such as Clean, Delete, Erase, Deactivate, Uninstall, or Remove.
Conclusion
In conclusion, accessing the Applications folder on a Mac is a simple process that can be done in a few easy steps. By clicking on the Finder icon, then selecting “Applications” from the sidebar, you can view all the applications installed on your Mac. Additionally, you can access the Applications folder by using the “Go” menu in the Finder or by using the keyboard shortcut “Shift+Command+A“.
Once you have accessed the Applications folder, you can open any application by double-clicking on its icon. Overall, the Applications folder is an essential part of Mac’s file system and knowing how to access it can help you quickly locate and open the applications you need.
Latest Articles