

The average macOS computer has 128GB of disk space. Some models may have more, while others have less. Though it may seem sufficient for most purposes, if you deal with files on the regular, you’ll find that 128GB is actually not that much disk space, especially if you’re dealing with relatively large files like videos and photos. That’s most likely why you want to learn how to increase disk space on Mac. Alas, it’s not going to be as easy as just downloading firmware to increase the storage.
On the bright side, there are numerous ways to increase disk space, though some methods might not be exactly what you’re looking for. Regardless, below are four ways on how to increase disk space on Mac. Let’s start with the simplest method.
Method #1: Buy An Extra Storage Drive
The simplest method how to increase disk space on Mac is to buy an extra storage drive. Then, plug it into the macOS computer. The storage drive can be anything from a flash drive, a memory card, or an external hard drive. Make sure you connect it using the correct cable, be it USB-C, USB, or Thunderbolt. The amount of disk space this method will add will naturally be dependent on the storage capacity of the drive you connected, so it’s best to go all out if you want to use this particular method. For your reference, storage drives usually come in sizes of 16GB, 32GB, 64GB, up to over 2TB.
The only issue with this method is that it can cost a great deal of money. External hard drives, in particular, may cost around a hundred dollars. Thankfully, it’s not the only method you can use. You can increase your disk space with free methods.

Method #2: Empty The Trash
The Trash is where you’ll find the files that you deleted within the past 30 days. Files deleted past that time limit are permanently deleted automatically. The issue with the Trash is that though the files inside it are not usable, they still take up disk space on your computer. For that reason, it’s best to get rid of them if you no longer plan on recovering them. If you do, then make sure you recover the files you might need in the future. Once that’s done, empty the Trash with these steps:
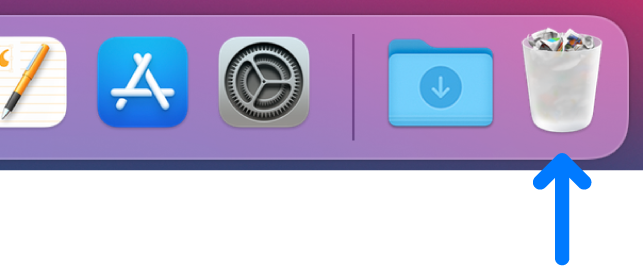
- Find the Trash icon on your Dock. The icon should look like an actual trash can.
- Click the icon while holding the Ctrl key on your keyboard.
- A dropdown menu will appear. Select Empty Trash from the menu.
With these three steps, you should be able to get rid of all the contents of the Trash folder at once. Keep in mind that you won’t be able to recover them at that point, so be sure you don’t have any potentially important files lying around when doing this.
Method #3: Clear The Cache
Whenever you do something on your computer, the system generates the files needed to execute those tasks. These files are usually only needed temporarily. Once the task is complete, there will no longer be a need for those files. The problem is the system is incapable of deleting these files automatically, so they tend to pile up on your computer. These are what we call system cache files. Thankfully, you can delete them to make sure they don’t take up important disk space on your computer.
Here’s how you clear the system cache:
- Open the Finder app on your computer.
- Click Go from the top menu bar.
- Select Go to Folder… from the resulting dropdown menu.
- A popup window will appear. Type in the following text in the text bar: ~Library/Caches/
- Click Go.
- Finder will take you to the specified folder. In that folder, find the cache files you want to delete and move them into the Trash to delete them.
Make sure you empty the Trash after doing step 6 so they don’t take up disk space.

Method #4: Utilize Mac Cleaner
One of the downsides of the aforementioned methods is that they typically require you to spend several minutes, if not hours, deleting unnecessary files. After all, you have to jump from one folder to another, which in itself is already time-consuming. Moreover, even with those methods, you’ll likely still miss a couple of files, so you’re still technically not increasing your disk space to the maximum. As an alternative, we suggest using the Mac Cleaner software.
Mac Cleaner is a cleaning app designed to delete unnecessary files from a macOS computer. It can detect and delete files with just a few clicks and typically takes only one to five minutes to complete, so it’s perfect for your purposes.
To use the software, here’s what you need to do:
Step #1: Download, Install, and Start Mac Cleaner
The first step is to get the software on your computer. To do that, you should start by clicking this link. By doing so, a browser will open automatically and it will take you to the Mac Cleaner download site. There, you’ll find a Download Now button. Click it to download a DMG file. Once the download is complete, open it to run the installer. Follow the onscreen instructions onwards. The software should open automatically once the installation is 100 percent complete.
Step #2: Select a Cleaner Module
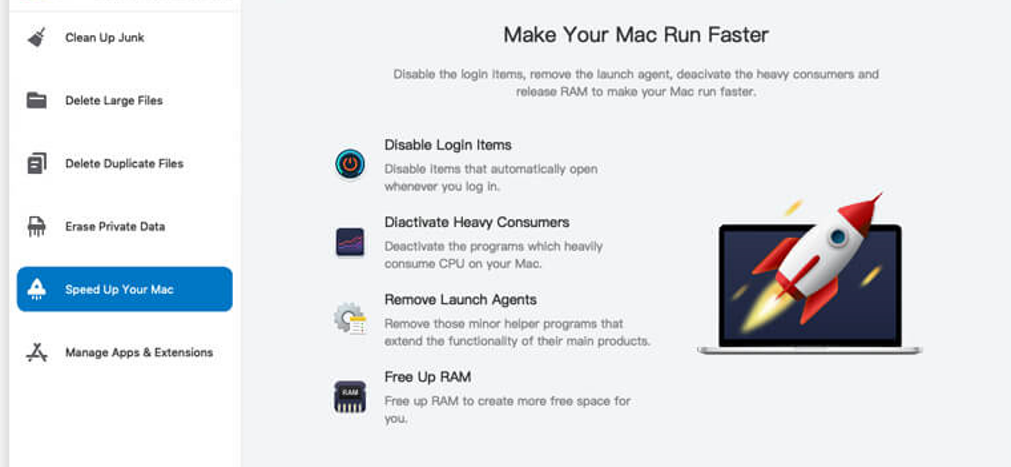
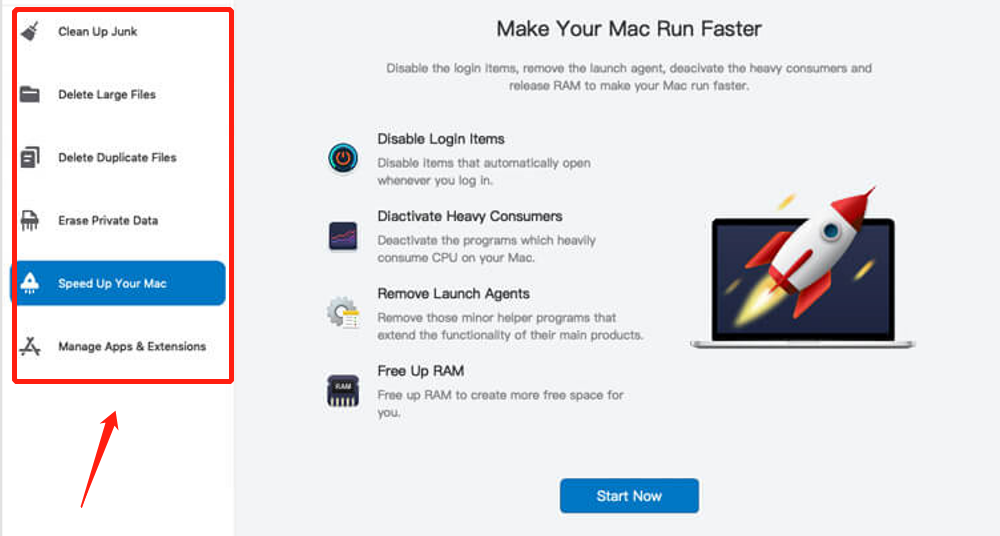
Mac Cleaner currently has six modules, namely (1) Clean Up Junk, (2) Delete Large Files, (3) Delete Duplicate Files, (4) Erase Private Data, (5) Speed Up Your Mac, and (6) Manage Apps & Extensions. Since your goal is to learn how to increase disk space on Mac, you’ll mostly need the help of the first three modules, which we call the cleaning modules. They allow you to delete files from your computer, which is the best way to increase disk space. Here’s what each module does:
- Clean Up Junk allows you to delete junk files like system junk, app cache, Trash files, download files, and more.
- Delete Large Files detects and deletes files that have sizes exceeding 50MB.
- Delete Duplicate Files can get rid of files with an extra copy somewhere on the computer.
To select a cleaning module, you must click it from the left side of the interface.
Step #3: Scan Your Mac for Files
The third step is all about scanning the computer for files. The way to do it will vary according to the module:
- Clean Up Junk: The software will split into two sides once you select the module. One side says Quick Clean while the other says Deep Clean. Quick Clean allows you to look for and delete System Junk, App Junk, Trash Bin, and iTunes Junk, while Deep Clean can find and get rid of Downloads, iOS Junk, and Unused Disk Images, in addition to the file categories that Quick Clean can scan. Select between these two options, then click the Scan button.
- Delete Large Files: Click the Scan button immediately.
- Delete Duplicate Files: At the center of the interface, you’ll find a field that says Select a File Directory. To its left is a button that says Browse. Click that button, and when a popup window appears, use it to navigate to the directory you wish to scan for duplicate files. Once you’ve specified the directory, click the Scan button to proceed.

Step #4: Choose a File/s
The next step is to select the files you want to delete. For Delete Large Files and Delete Duplicate Files, all you have to do is click on the check boxes of files from the list to select them. You can also click Select All to include all items. In the case of Clean Up Junk, you must first select a file category from the list on the left. It should consist of items like System Junk, Downloads, Trash Bin, iOS Junk, and more. Upon selecting a category, a new list will appear on the right side of the interface, from which you can select the files you want to delete in the same way you do with the two other cleaning modules.

Step #5: Delete the File/s
Once you’ve ascertained that you selected all the files you want to delete, you just have to click the blue button at the top-right corner of the window which should either say Clean or Delete depending on the cleaning module you’ve been using.
It may not permanently increase the disk space of your Mac, unlike the method where you install a new storage drive, but it should at least solve your storage problems temporarily. The best part is you can do this regularly as it only takes a few minutes to complete, unlike the traditional method of deleting files which usually takes hours to do with unsatisfying results.

Final Words
Disk space can refer to many things. It might be referring to the available disk space. Maybe you’re talking about the maximum storage capacity. Regardless, this guide should be able to help you increase both, as long as you have the resources and the skills to do it. But as always, you must remember that there’s a limit to how much disk space you can increase on your macOS computer. Once you reach that limit, you must learn to accept that you need to buy a new storage disk.
Latest Articles