

Zip files are compressed archives that allow you to store and transfer multiple files and folders in a single package. They are widely used for various purposes, such as bundling files for easy sharing or reducing file size. If you are a Mac user and wondering how to open a zip file, this blog post is here to help. We will walk you through the simple steps to open zip files on Mac effortlessly.
Part 1: What Is a Zip File on Mac
On Mac, a zip file is a compressed file format that allows you to store and organize multiple files and folders into a single archive. It is a commonly used method to reduce the file size and bundle related files together for easier sharing and storage. Zip files can be created, extracted, and managed using built-in tools like Finder or third-party software on Mac.
Part 2: How to Zip a File on Mac
To zip a file on a Mac, you can use the built-in compression tool called Archive Utility. Here’s how you can do it:
Locate the file or folder you want to zip. It could be on your desktop, in the Finder, or in any other directory. Select the file or folder by clicking on it once. Right-click (or Control-click) on the selected file or folder to open the contextual menu. From the contextual menu, hover your cursor over “Compress” and click on it. This action will create a compressed zip file with the same name as the original file or folder.
Wait for Archive Utility to compress the file or folder. The duration will depend on the size of the item being compressed. Once the compression process is complete, you will see a new zip file in the same location as the original file or folder. The new zip file will have a “.zip” extension.

Part 3: How to Unzip a Zip File on Mac
To unzip a zip file on a Mac, you can use the built-in Archive Utility or third-party software like The Unarchiver. Here’s how you can use both methods:
Step 1: Locate the Zip File:
The first step is to locate the zip file you want to open. Typically, zip files have a “.zip” extension, and they can be saved in any location on your Mac, including your desktop, Downloads folder, or any other directory where you have saved the file.
Step 2: Double-click to Extract:
To open a zip file on Mac, simply double-click on it. Mac’s default Archive Utility program will automatically launch and extract the contents of the zip file into a new folder with the same name as the zip file.
Step 3: Accessing the Extracted Files:
Once the extraction process is complete, you can access the contents of the zip file. The extracted folder will be created in the same location as the original zip file. To view the extracted files, double-click on the folder to open it in Finder. You can now interact with the individual files and folders as you would with any other files on your Mac.

Part 4: How to Check a Mac for Duplicate Zip Files
To check a Mac for duplicate zip files, you can use a file management tool or a duplicate file finder application. Here’s a general method using Finder:
Open a new Finder window by clicking on the Finder icon in the Dock or by pressing Command + N. Navigate to the directory or folder where you suspect duplicate zip files may be located. In the top-right corner of the Finder window, there is a search bar. Click on it to activate the search field.
By default, the search bar displays “This Mac.” If you want to narrow down the search to a specific folder or directory, click on “This Mac” and select the desired location. Enter the search criteria in the search bar. To search for zip files, type “.zip” (without quotes) and press Enter. Finder will display all the zip files matching the search criteria in the selected location or on the entire Mac if you chose “This Mac.”
Look through the search results and compare the file names, sizes, and locations to identify any duplicate zip files. If you find duplicates, you can manually delete or manage them according to your preference.
It’s worth noting that this method searches for duplicate zip files based on their names and locations. If you want to perform a more advanced and comprehensive duplicate file search, you may consider using a dedicated duplicate file finder application from the Mac Cleaner or other reputable sources. These applications offer more sophisticated search algorithms and additional features for managing and removing duplicate files efficiently.

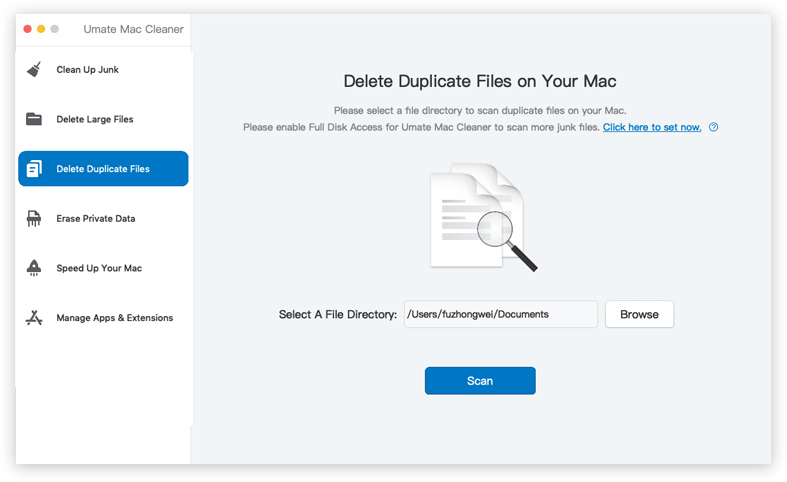
Part 5: Duplicate Zip Files with Mac Cleaner
Duplicating zip files can be a valuable tool for various purposes, such as creating backups or sharing copies with others. There are multiple methods available to duplicate zip files, including utilizing built-in features on your computer or Mac Cleaner. In this blog post, we will explore different techniques for duplicating zip files on your computer. To duplicate zip files using Mac Cleaner, follow these steps:
Step 1: Open Mac Cleaner on Your Computer
Start by opening Mac Cleaner on your Mac. You can download Mac Cleaner from a reliable source and follow the installation instructions. Once the installation is complete, launch the application.
Step 2: Select the Duplicate Files Module
In Mac Cleaner, you will find different modules on the left side of the interface. Look for the module specifically designed for handling duplicate files. It may be labeled as “Delete duplicate zip files” or similar. Click on that module to proceed.
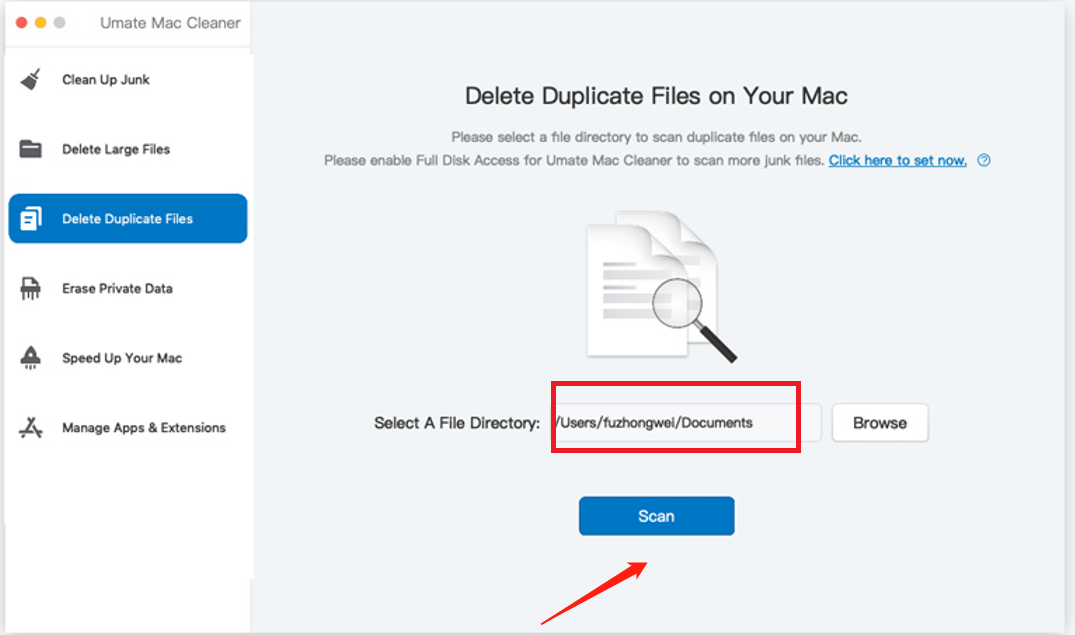
Step 3: Scan Your Mac for Duplicate Zip Files
After selecting the duplicate files module, Mac Cleaner will initiate a scan of your Mac to identify duplicate zip files. The scanning process may take some time depending on the size of your storage and the number of files it needs to analyze. Wait for the scan to complete.
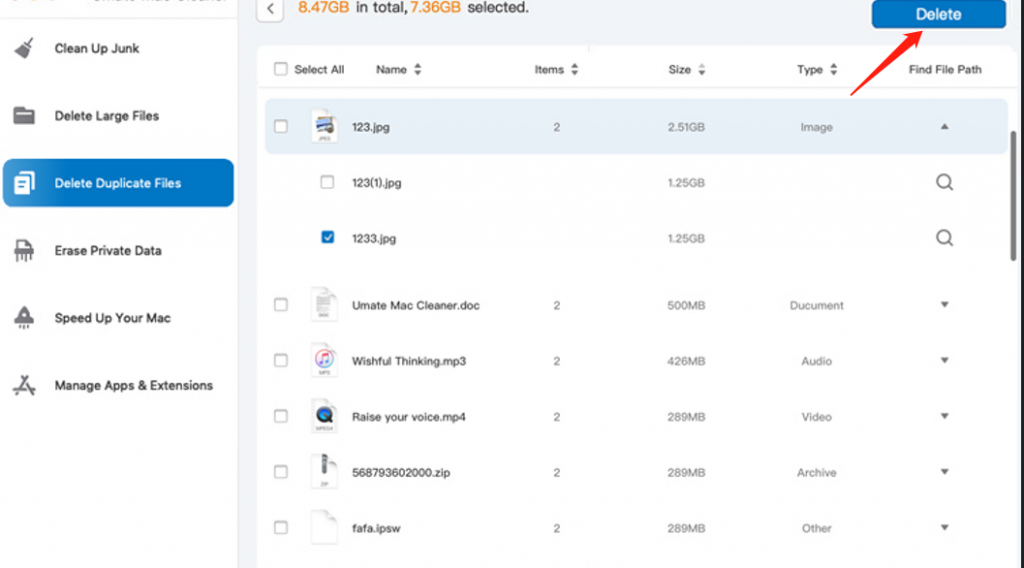
Step 4: Review and Select Duplicate Zip Files
Once the scan is finished, Mac Cleaner will present a list of duplicate zip files it has detected on your Mac. Review the list carefully to ensure you don’t mistakenly select any important files. Mac Cleaner typically provides information like file names and sizes to help you make informed decisions. Select the duplicate zip files you want to duplicate by ticking the checkboxes next to them. You can also use the “Select All” button to choose all the files in the list.
Step 5: Duplicate the Selected Files
After selecting the duplicate zip files you want to duplicate, proceed to duplicate them by clicking on the appropriate button in Mac Cleaner. The button might be labeled as “Duplicate” or a similar term. Mac Cleaner will create duplicates of the selected zip files, giving them new filenames or storing them in a specified location.
Ensure you have enough storage space for the duplicated files, as they will consume additional disk space. Once the duplication process is complete, verify that the duplicate zip files have been created successfully. You can navigate to the designated folder or location to confirm the presence of the duplicates.
By following the steps above, you can use Mac Cleaner to duplicate zip files on your Mac. Remember to exercise caution when selecting files for duplication and ensure that you have enough disk space to accommodate the duplicates.
Conclusion
Opening zip files on Mac is a straightforward process, and you have multiple options available to you. The built-in Archive Utility provides a simple and efficient way to extract the contents of zip files. However, if you require more advanced features or compatibility with other archive formats, you can explore third-party applications. Whichever method you choose, you can now effortlessly open and access the contents of zip files on your Mac. Enjoy exploring and managing your compressed files with ease!
Latest Articles