

It’s a fairly common occurrence among computers to suddenly operate slower than usual. Of course, this can be the result of many factors. It can be due to old age, virus infection, or hardware failure—the list goes on. Naturally, to solve this issue, you will first troubleshoot your Mac. You can do this in many ways, such as running an anti-virus scan, checking the computer’s age, and the like. However, if you found no such problems, it might simply be because of insufficient storage. But how do you troubleshoot this particular issue? This is where the importance of knowing how to see storage on Mac comes into play.
Part 1: Why Should You Learn How to See Storage on Mac?
As baffling as it may be, there are actually several reasons as to why you should learn how to see storage on Mac, like:
- You can schedule cleanups in a more organized manner as you’re able to tell if your Mac storage is full or not.
- It allows you to monitor your Mac storage so you don’t accidentally slow down your computer’s performance by downloading or transferring a large file when your storage is already almost full.
- You can perform cleanups more systematically as you’re able to figure out which file types make up the majority of your Mac. As a result, you’re able to decide which file type you must focus on during disk cleanups.
- You don’t waste time downloading massive files and ultimately canceling the download due to lack of space.
These are just a few examples of benefits you can get with the knowledge you’re about to obtain in this guide. Of course, it’s not always useful, and it’s rather situational, but it should at least help you in your endeavors of managing your Mac.

Part 2: How to See Storage on Mac: Step-By-Step Guide
If you were to rely solely on the built-in features of Mac, there’s only one way to see the storage on a macOS computer, and that is by following these steps:
- On your Mac computer, click the Apple icon from the top-left corner of the screen.
- Select About This Mac from the resulting dropdown menu.
- On the About This Mac window, navigate to the Storage tab.
In the Storage tab, you can find a storage breakdown, which is essentially a rectangle that has numerous divisions. These divisions are the different file types your Mac storage currently contains. These may include Videos, Documents, Applications, systems, Movies, and the likes. As you can see, the process of seeing the storage on Mac is rather straightforward. You just need to click a few buttons and you’re good to go. However, keep in mind that it often takes a while before you can find the storage breakdown. In most cases, the system takes a few seconds to calculate the storage.
You must also remember that the storage breakdown you’ll see through following these steps won’t always be accurate or at least 100% accurate. There’s a good chance there’s a miscalculation on its part, but that’s what the next section’s all about.

Part 3: Check And Clean Your Mac Storage With Mac Cleaner
Though it is possible to see your storage on Mac, as you’ve seen through the previous sections, there’s a possibility that the breakdown isn’t exact. Maybe the system cannot detect certain files within your Mac’s storage. Perhaps it’s detecting files that have long been deleted. Either way, the storage breakdown is rarely 100% accurate. That’s why it’s advisable to have a second way to see your storage on Mac to serve as a second opinion. That’s where Mac Cleaner comes into play.
Mac Cleaner is a piece of software that specializes in cleaning your Mac storage. But more importantly, it has a specific module where you can find a rather brief storage breakdown of your computer’s storage system.
This should confirm whether the breakdown you saw using the previous method is true or not. Moreover, you can use Mac Cleaner to delete unnecessary files from your computer. Here’s how you can use Mac Cleaner for your purposes:
Step #1: Download, Install, and Launch Mac Cleaner
Download the Mac Cleaner install through its website. Run the downloaded file to install the software, and open it afterward.
Step #2: Choose the Clean Up Junk Module
On the left sidebar of the software, you’ll find six different options. These are the modules that make up Mac Cleaner, though, for your purposes, you only need the Clean Up Junk module. Simply click on that option from the left sidebar.
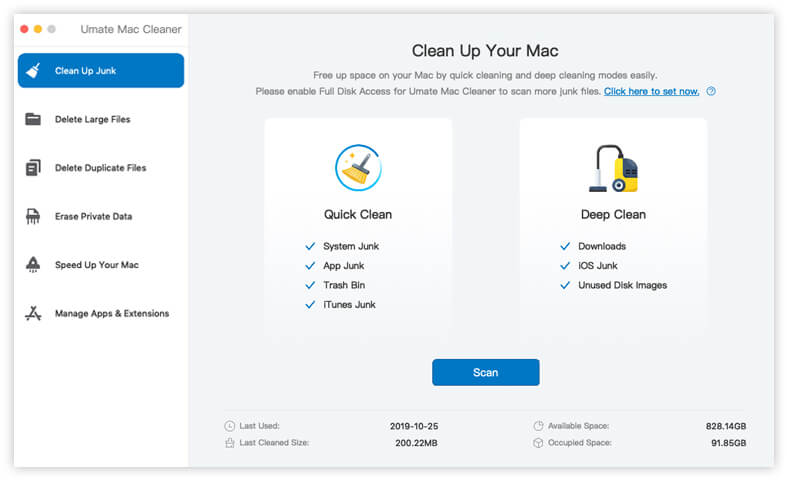
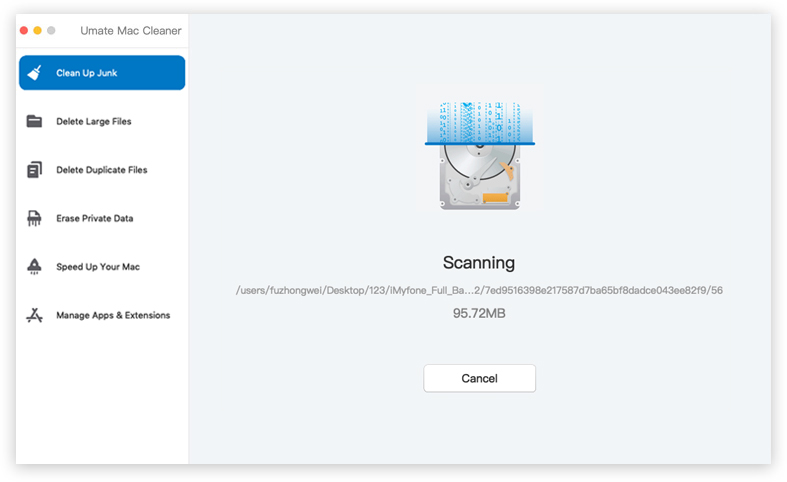
Step #3: Click the Scan Button
Upon selecting the Clean Up Junk module, you’ll notice that the interface shows information about that module. The Clean Up Junk module, in particular, shows you various information about your storage, including the Available Space and Occupied Space. You can find this information in the bottom-right corner of the interface. This will give you a more accurate breakdown of your storage. Once you’ve confirmed your storage space, click the Scan button at the center of the software.
Step #4: Select an File/s
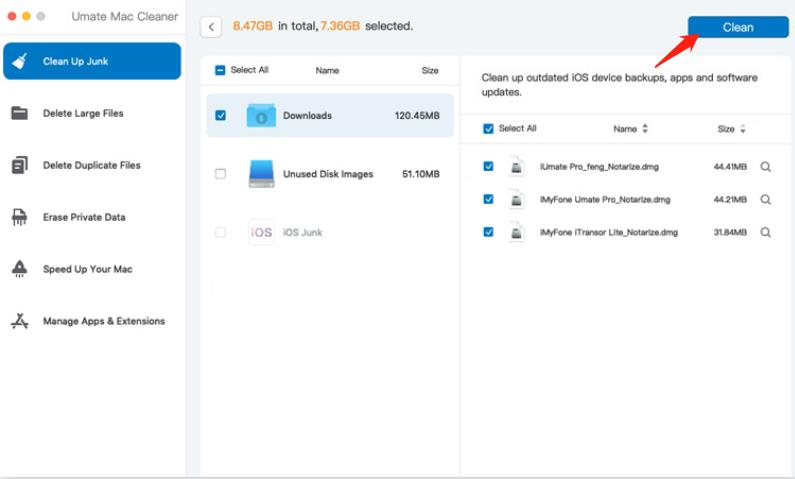
Once the scan is complete, the software will display a list of files on the left sidebar. Simply select the files you wish to delete by clicking on their corresponding checkboxes. You can also select all by clicking the Select All checkbox.
Step #5: Delete the Selected File/s
After selecting all the files you wish to delete, click the Clean button at the top-right corner of the interface.
With Mac Cleaner, not only can you see your available and occupied storage space, but you can also clear some of that space by deleting unnecessary files.
Part 4: Wrapping up
Troubleshooting is an essential step when solving problems on a computer. It allows you to figure out exactly what is the problem so you don’t waste time by solving an issue that doesn’t exist. Alas, unlike other issues, like virus infections or hardware failure, it’s fairly difficult to troubleshoot storage issues in the computer. However, that’s not the case with Mac, as there’s a specific feature that allows you to streamline the process. This guide eliminates the guesswork from this operation and allows you to find an accurate breakdown of your computer’s storage by teaching you how to see storage on Mac.
Latest Articles