Here we offer you guidance on turning off iCloud backup.
The iCloud is a feature present in most, if not all Apple devices. It allows you to store your files on the cloud storage of the Apple company. Though the cloud storage for free users has a limited capacity of 5GB, it’s at least better than nothing and can serve as an extension of your physical storage drives. You can also pay for the service to increase the capacity of your iCloud to hundreds or even thousands of GBs. However, as helpful as it may be, you’ll notice that the iCloud storage associated with your Apple ID can fill up rather quickly without you noticing. This typically has to do with iCloud backups.
Part 1: What Are iCloud Backups?
iCloud backups are exactly what the name suggests, they are backups located in your iCloud storage. Since the storage is only accessible with your Apple ID, it’s basically a backup tied to your Apple account. You can create iCloud backups in two different ways. The first method is when you create a backup manually on your Mac computer and once it’s successfully created, you move that backup into the cloud. The second method is when you set up the iCloud Backup feature where your macOS automatically creates a copy of your files and move them into the iCloud storage without your input.
This automatic backup feature creates backups regularly, typically when the system detects that numerous files or large files were transferred to the cloud. Though it’s a useful feature, iCloud Backup quickly depletes the cloud storage capacity.
For that reason, it’s advisable to at least try turning off iCloud backup every now and then. This is particularly true if you’re only using the platform for free since it would only have a capacity of 5GB. So, how do you turn the feature off?
Part 2: Turning off iCloud Backup on iPhone, iPad, and iPod Touch
To start with, it’s worth noting that the iCloud Backup feature is present in both Apple mobile devices and computers. In that regard, this section will focus more on how you can go about turning off iCloud backup on an iPhone, iPad, and iPod Touch.
Here are the steps you need to follow:
- On your mobile device, open the Settings app.
- Tap on your Apple ID which is basically your username beside your photo.
- Find and select iCloud.
- Tap the iCloud Backup toggle so it’s not color green. When it is, that means it’s turned on.
In other versions, particularly the iOS version 10.2 or earlier, the location of this feature might not be the same. It can be in Settings > iCloud > Backup, so if you can’t find it using the aforementioned steps, go to this place instead.

Part 3: Turning off iCloud Backup on Mac
The iCloud Backup feature is also present on Mac computers. You can access the backup files by either opening a browser and going to the iCloud.com website or using the Finder app and clicking iCloud from the sidebar. But even though they are two different devices, the iCloud account that your iOS device and macOS computer is using are one and the same. So, to minimize the storage usage of your cloud storage, you must turn the feature off, and you can do so by following these steps:
- Click the Apple logo located at the top-left corner of your screen.
- Select System Preferences… from the resulting dropdown menu.
- Click the Apple ID option on the right side of your username and photo.
- Click the Manage button.
- Select Backups.
- A popup menu will appear which contains a list of devices that has their iCloud Backup feature turned on. To turn the feature off, simply select a device, and click the Delete button at the bottom of the popup menu.

BONUS: Free up Space on Your Computer With Mac Cleaner
Once you turn off the iCloud backup feature, you’ll notice that rather than your iCloud storage, it’s your Mac storage that’s getting full quickly. This is because the backups that were supposed to be moved to the iCloud are now being stored on your physical drives. And since backups consume tens of GBs worth of space, it’s only a matter of time before your computer storage gets full. And as much as you’d like to delete the backups, you should know very well that it’s not advisable since backups are important. But there are other files that you can delete, and you can do so with Mac Cleaner.
Mac Cleaner is a modular software that can detect and delete unnecessary files on your computer. It’s the perfect solution if you want to free up space when backups are consuming most of the storage. Here’s how you can use this software:
Step #1: Download, Install, and Launch Mac Cleaner on Your Computer
First off, you need to open your browser and head to the Mac Cleaner’s official download site. Click the Download Now button found at that site to download a DMG file. Open the DMG file once it’s downloaded to run the installer. Then, follow the instructions that’ll appear after doing so. The software will open automatically once it’s been installed.

Step #2: Choose a Cleaner Module
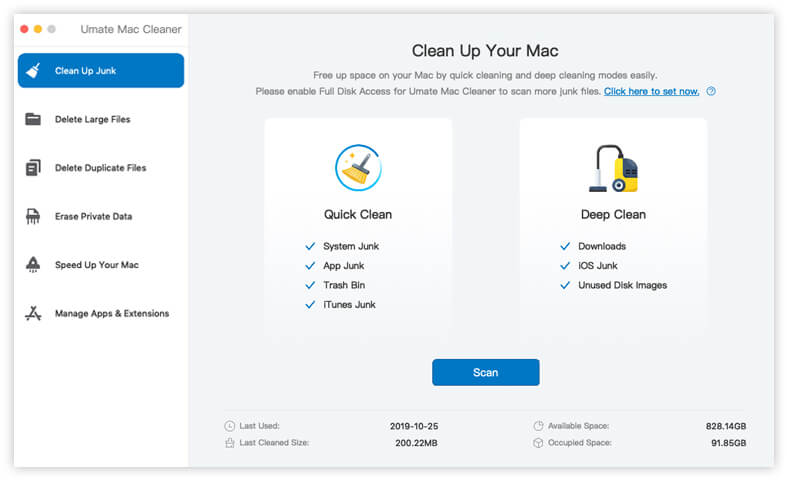
Mac Cleaner currently has six modules, namely (1) Clean Up Junk, (2) Delete Large Files, (3) Delete Duplicate Files, (4) Erase Private Data, (5) Speed Up Your Mac, and (6) Manage Apps & Extensions. Though each module is useful for certain tasks, since your goal is to make space in your computer, you’ll mostly need the first three modules as they allow you to delete unnecessary files from your computer. Here’s a look at these modules and how they can help you:
- Clean Up Junk detects and deletes unnecessary files, specifically, junk files, on your computer. These may include your system and app cache, iTunes cache, files in the Trash and Downloads folder, and the likes.
- Delete Large Files scans the computer for files with a size that exceeds 50MB. It only detects unnecessary files, so there’s no need to worry about deleting important files. The module also scans for files regardless of file type.
- Delete Duplicate Files inspects each file in a directory and scours the entire Mac storage to see if those files have an extra copy somewhere in the computer. It then creates a list of duplicate files it has found that you can delete.
You can select a module by clicking on it from the left sidebar of the software.

Step #3: Scan Your Mac for Files
Your next step is to scan your computer for files. This applies to all cleaner modules, but the way you’ll do it will vary according to what module you chose. With that said, here’s what you need to do for each cleaner module:
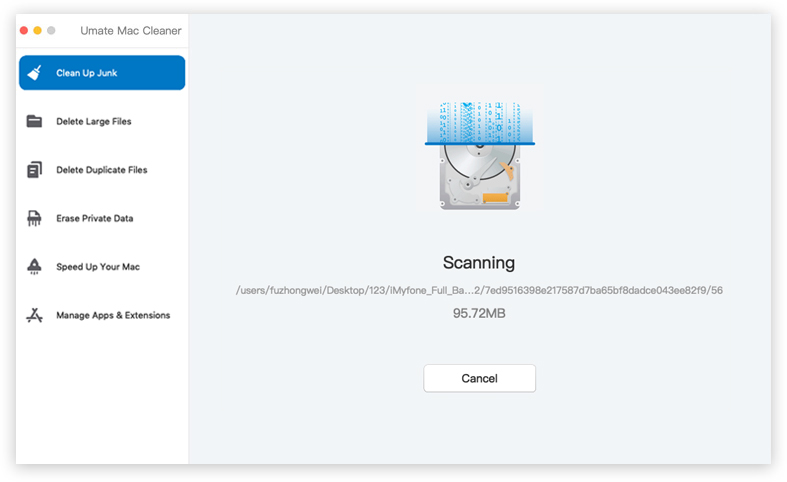
- Clean Up Junk: The software will consist of two sides, one says Quick Clean and the other says Deep Clean. Quick Clean scans for System Junk, App Junk, Trash Bin, and iTunes Junk. Deep Clean scans all that in addition to Downloads, iOS Junk, and Unused Disk Images. Select between the two then promptly click the Scan button.
- Delete Large Files: Click the Scan button immediately after selecting the module.
- Delete Duplicate Files: Click the Browse button at the center of the software. A popup menu will appear once you do so, and in that menu, you must navigate to what folder you want to scan. Click the Scan button afterward.

Step #4: Select the File/s
Before you can delete files, you must first select them. For Delete Large Files and Delete Duplicate Files, this will be rather simple since you’ll immediately get the list of files you can delete. Just select the ones you want to delete by clicking on their corresponding checkboxes. On the other hand, for Clean Up Junk, it’ll first show a list of file categories, such as Downloads, Trash Bin, Unused Disk Images, System Junk, and the likes. Select a file category first, only then will the list of files appear on the right side of the software. Select the files you want to delete from that list the same way you did with the other two modules, clicking their checkboxes. If you want to include all items, click the checkbox for Select All instead.
Step #5: Delete the File/s
Lastly, you need to click the blue button in the upper-right corner of the software. It should say either Delete or Clean, depending on the module. Once you do, you only have to wait for the deletion process to complete.
It’s usually not this easy to free up space on your computer. Normally, you’ll need to jump from one folder to another and look for files you no longer need. However, tools like Mac Cleaner simplifies this, which is what makes them an excellent tool for freeing up disk space.

Wrapping up
While it’s true that Apple devices have a ton of useful features, there are some that can be over the top. iCloud backup is an excellent example of this. As much as you’d like to have a copy of your files, iCloud also creates a backup of files that don’t really need a backup. As a result, the backups can take up a massive portion of your iCloud storage, which might not be the best use of iCloud. That should no longer be a problem though, as you now know the process of turning off iCloud backup.
Latest Articles