Many Mac users often wonder where their home folder is located. This can be due to the fact that certain folders contain only portions of their documents, rather than all of them. To conveniently access all of your saved files, it is important to know where the home folder on your Mac is located.
In this article, we will provide you with information on where to find the home folder on Mac, its purpose, and its components. Additionally, we will include some useful tips, such as how to personalize your home folder by renaming it or hiding files and folders for privacy reasons.
Part 1. Where is Home Folder on Mac?
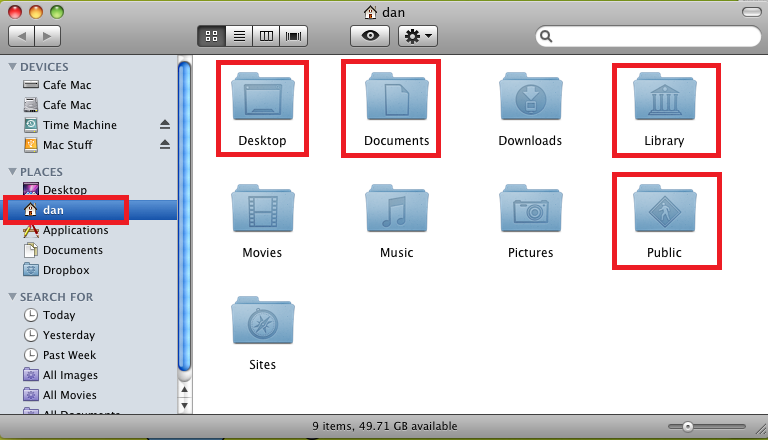
If you are new to Mac, you may find the organization of files a bit confusing. One question that may come to mind is “Where is Home Folder on Mac?” as it is not immediately visible on your desktop. To locate it, you will need to go to your profile.
Once you have located your home folder, you will find four main default folders inside it that are essential to your Mac’s operation. It is recommended that you do not make any changes to these folders or delete them entirely. You can, however, remove files within them, such as documents, images, and applications. The four default folders inside your home folder are:
- Desktop – where files saved to your desktop are stored.
- Documents – where word files, spreadsheets, presentations, and downloads are usually saved.
- Library – where your preferences, settings, mail attachments, and app-related files are stored.
- Public – where shared files can be found. If you save files here, others can view them. However, files saved in your home folder will not be visible to others.
Part 2. How to Locate and Get to Home Folder on Mac?
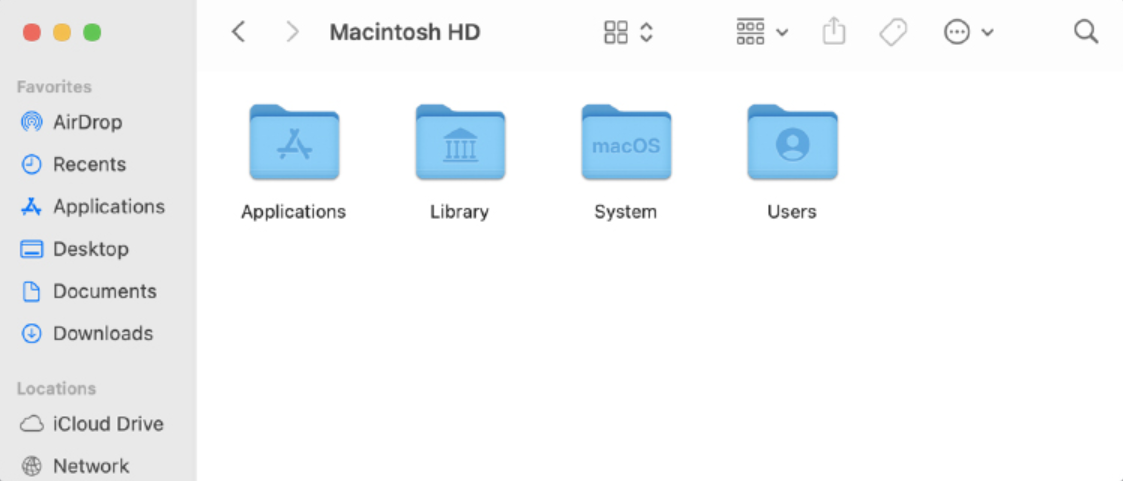
If you’re wondering how to locate and access your home folder on Mac, the process is fairly straightforward. You can easily identify the home folder by its icon, which is shaped like a house. To find it, you can follow these steps:
- Open Finder.
- Press Command + Shift + H.
- Select “Go” on the Toolbar.
- Choose “Home” from the dropdown list.
By following these steps, you should be able to locate and access your home folder on your Mac without any difficulty.
Part 3. How to Rename Your Mac Home Folder?
To rename your Mac home folder, follow these steps:
- Log out of your account and log in as another user with administrative privileges. This is necessary because you can’t rename a home folder while you’re logged in to it.
- Open the “Users & Groups” pane of System Preferences.
- Click on the lock icon in the bottom left corner of the window and enter your administrator username and password.
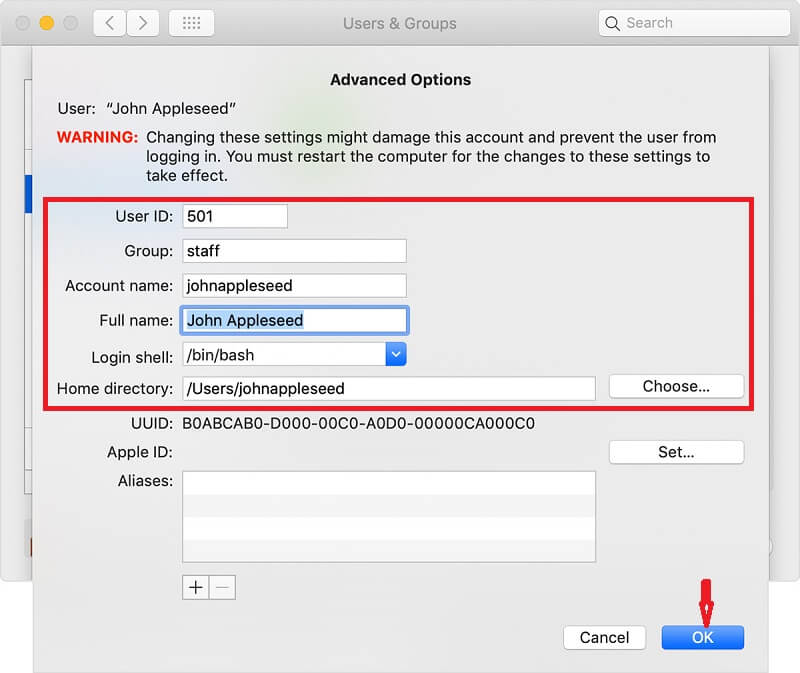
- Control-click on the user whose home folder you want to rename and select “Advanced Options.“
- In the “Home directory” field, edit the path to reflect the new name of the home folder. For example, if your current home folder is “/Users/old name“, change it to “/Users/newname“.
- Click “OK” to save the changes.
- Close System Preferences and log out of the administrative account.
- Log back into your account, and your home folder should have the new name you chose.
Note: It’s important to make sure that you only rename your home folder using this method. Renaming your home folder manually through Finder can cause problems with your user account and the system.
Part 4. Tips & Tricks about User Home Folders in macOS
Tips & Tricks for Managing Your Home Folder on macOS In addition to renaming your Home Folder on Mac, we’ve compiled some other tips and tricks that you might find useful for managing your home folder. We’ve provided three guides below that you can use to customize your home folder and improve your productivity.
How to Add Home Folder on Finder and Sidebar?
How to Add Your Home Folder to Finder and the Sidebar? If you want quick access to your home folder, you can add it to your Sidebar by following these steps:
- Open Finder.
- Click on “Preferences.”
- Go to the “Sidebar” tab.
- Select the folders you want to include on your Sidebar, and remove any unwanted items.
How to Create a Zip Folder on Mac?
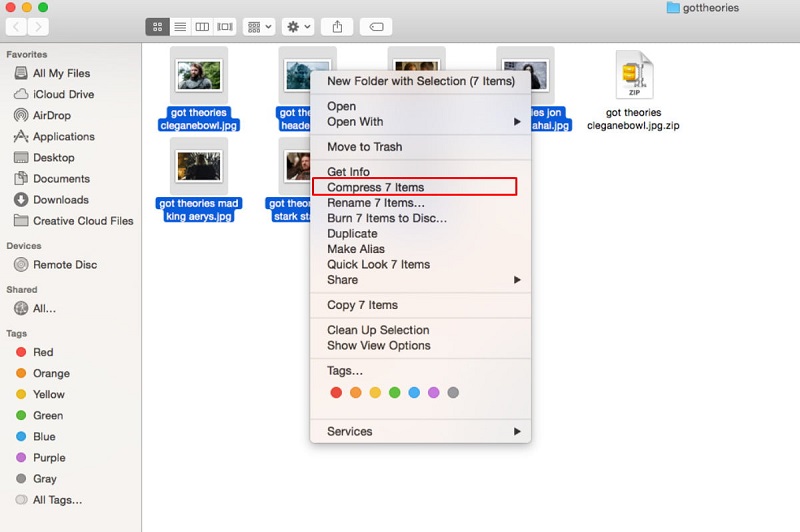
To create a shortcut for a folder on Mac, you can make an alias. An alias is a type of shortcut folder that provides quick access to the files inside the folder. You can still use an alias even if the original file is renamed, but if the original file is deleted, the alias will no longer work. To create an alias for a folder, follow these steps:
- Open your Home Folder
- Choose the Folder you want to create an alias for
- Right-click on the Folder
- Select “Make Alias” from the drop-down menu.
Part 5. Bonus Tips: Declutter Files and Optimize your Mac Easily
After locating your home folder and viewing its contents, you may have noticed some unorganized and unclear files and documents. These can be removed using Mac Cleaner, which helps you easily declutter your home folder and optimize your Mac.
As a new user of Mac, it can be a bit challenging to navigate through the default folders where files are being saved. However, now that you have finished reading this article, you should know how to find the home folder on Mac without difficulty.
Mac Cleaner is software designed to clean your computer, as its name implies. It offers a range of features, including the ability to scan for deleted junk files with minimal effort. To help you get started with Mac Cleaner, here is a guide on how to use it.
Step #1: Download, Install, and Open Mac Cleaner
To begin using Mac Cleaner, you need to follow these three steps: first, go to the Mac Cleaner website using your preferred browser. Second, download the installer by clicking the “Download Now” button and then proceed to install the software. Finally, after the installation is complete, open the application on your computer.
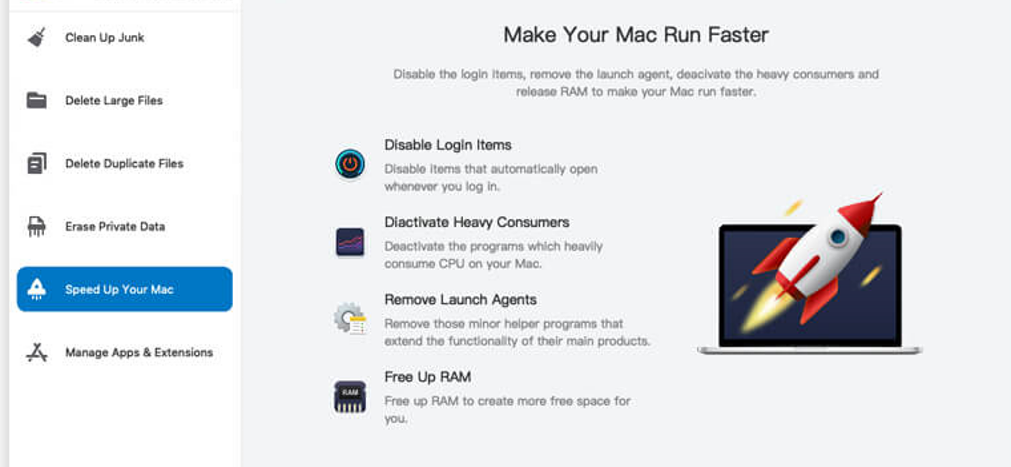
Step #2: Pick the Clean up Junk Module
In step two, you need to choose the Clean Up Junk module from the six modules offered in Mac Cleaner. This module is designed to detect and remove various types of junk files, such as System Junk, App Junk, iOS Junk, iTunes Junk, and Trash Bin Junk. By selecting this module, you can easily scan your computer for junk files and delete them, thus creating more space on your hard drive.
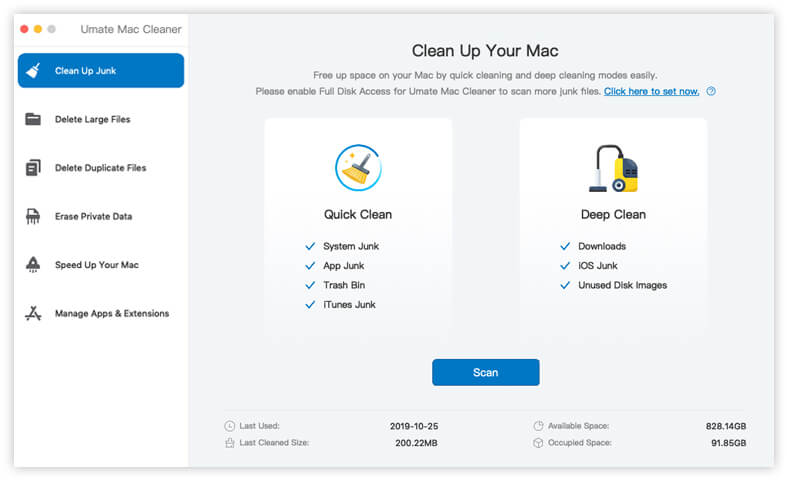
Step #3: Click Scan
After selecting the Clean Up Junk module in Mac Cleaner, you’ll see a change in the software interface. You can read more information about this module if you want to understand how it works. Once you’re ready, click the “Scan” button located at the bottom of the interface to initiate the scanning process.
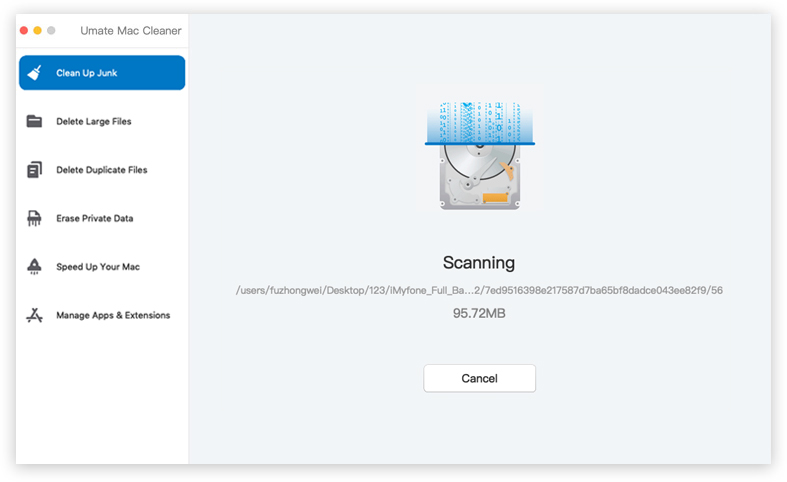
Step #4: Pick the Files You Want to Delete
Once the scan is finished, you’ll see various categories of junk files on the left side of the Mac Cleaner interface (e.g., Downloads, iTunes Junk, System Junk, App Junk). Select a category from this list, and you’ll see a list of specific files on the right side of the interface. You can choose which files to delete by selecting their corresponding checkboxes. If you want to delete all files in a category, you can click on “Select All”.

Step #5: Delete the Files
To delete the selected junk files in Mac Cleaner, simply click on the “Clean” button located at the top-right corner of the interface. This will initiate the cleaning process, and you need to wait for the software to complete it. It’s important to note that the files you delete using this method will not be sent to the Trash; they will be permanently removed from your system. Therefore, you don’t need to empty the Trash for these files. With Mac Cleaner, it’s easy to get rid of unnecessary files and free up space on your computer.

Conclusion
Overall, the home folder is a crucial part of a user’s experience on a Mac, containing important personal files and settings that allow users to customize and personalize their computing environment.
Latest Articles